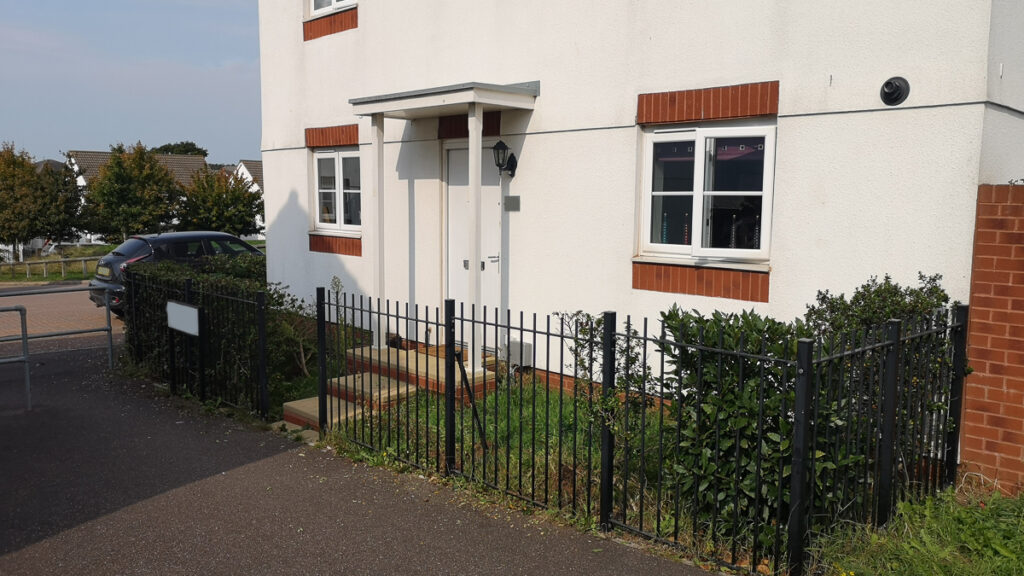
So, after dynamically procrastinating throughout the whole of Lockdown, last weekend I finally gave in to changing our front garden. The whole idea around it was to open up the front area of our house and make it as maintenance-free as possible. We (my partner and I) had finally decided on the Meadow View 40mm Blue Slate Chippings from Country Garden Patio Centre as the final covering for the area. The Blue Slate looks equally good, wet or dry and covers well on a slight slope.
Mattock
Spade
Fork
Hoe
Hand Saw
We had already cut back the Pink Escallonia hedge and the small Bay earlier that day just to make things a little easier for access to the roots, turf and the weeds.
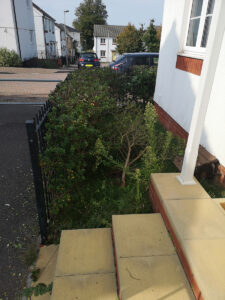
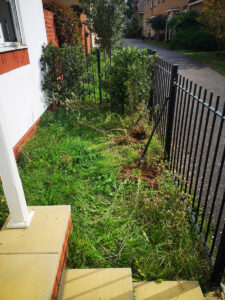
Lucky for us, the roots were relatively shallow so after taking the bulk of the hedge out with a hand saw, we could still get our hands to the roots in order to pull them out. This does prove to be quite labour intensive but the more greenery you can remove, the better.
Taking up the remains of the turf was a simple task save for a few stubborn weed roots… the Mattock comes in handy again!
I personally like to create a small channel around the border to house any folds in the membrane. This also allows a little extra weight around the edges to help hold the membrane down in the wind or trying to do the work by yourself and trying to lay everything flat at the same time.
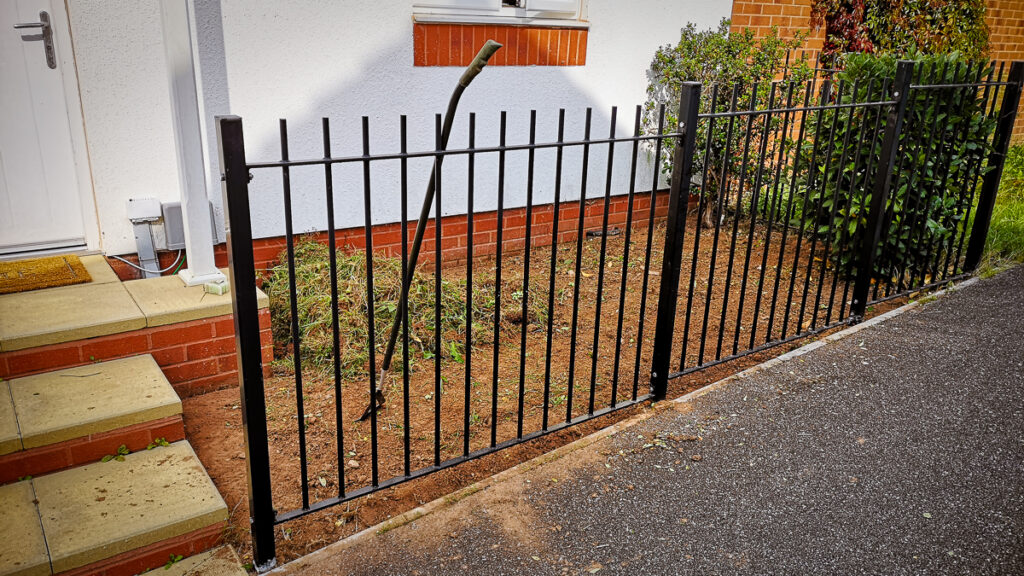
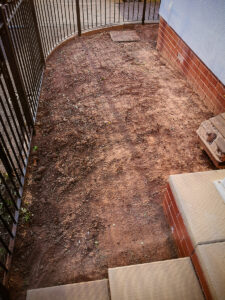 The first task was nearly done. In my haste, I’d forgotten about clearing away the excess soil and weeds. This is where, unless you have a spare truck or skip, rubble sacks would have come in handy. Instead, it was off to work to pick up the first load of 40mm Blue Slate Chippings
We had calculated the area based on 2 sections of 8m² plus a section curved around the corner of between 1-2m² which includes an inspection chamber – So around 17-18m². Now we’re into Bulk Bag territory but we decided to go for the individual 20kg bags for the shear ease of transportation and the fact we can collect them as and when we need them – I didn’t fancy having to shovel from one side to the other. So around 68-72 bags in total.
After collecting the first 16 bags and emptying them in the 1st area, we were able to use the empty bags to clear the waste.
Time for clearance – off to the Recycling Centre on an early Sunday morning! Well, 3 trips to the Recycling Centre to be precise. 2 trips of which we were able to make round journeys to County Garden Patio Centre for more 40mm Blue Slate.
Sharp Stanley Knife
As Country Garden Patio Centre do not stock weed suppressant membrane, we managed to source some 1m x 50 150gsm UV stabilised membrane on Amazon in advance for around the £45 mark. It’s a good idea to invest in a strong membrane as you don’t want to be replacing it every few years.
Unless you are tight on the measurements, I personally like to leave a bit of an overhang when cutting the weed suppressant membrane. Not only does this make it a lot easier when laying it single-handedly but also allows you to double over on the edges for an extra weed barrier.
Keep your blade sharp! Although the membrane cuts pretty easily, it does tend to blunt your blade quite quickly. For an accurate cut, change your blade frequently.
Sharp Stanley Knife
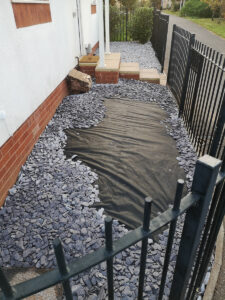
 Just like a jigsaw puzzle, I like to get the border done first. This way you can titivate the edges to your area and gauge the depth. This also makes the filling in process much easier. The Meadow View 40mm Blue Slate chippings bag suggests a minimum depth of 40mm which will cover approximately 0.3m² so adding a little extra depth (and making it a lot easier to work out) we allowed 4 bags per m². 32 bags per 8m² section. The final curved section was kind of a ‘work-in-progress’ as I’d decided to remove an extra Pink Escallonia bush.
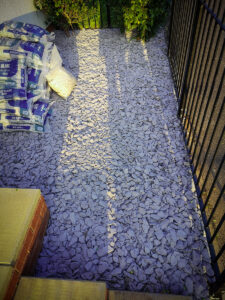
54 bags of Meadow View 40mm Blue Slate Chippings later and over 3/4 of the way there. Both sides of weed suppressant membrane are now layed and well bedded down. There is always a temptation to try and spread out the stone you have but try to avoid this as it makes it a lot harder to gauge the amount you need to finish the job and to keep the depth consistent.
The final load will be picked up over the next few days.
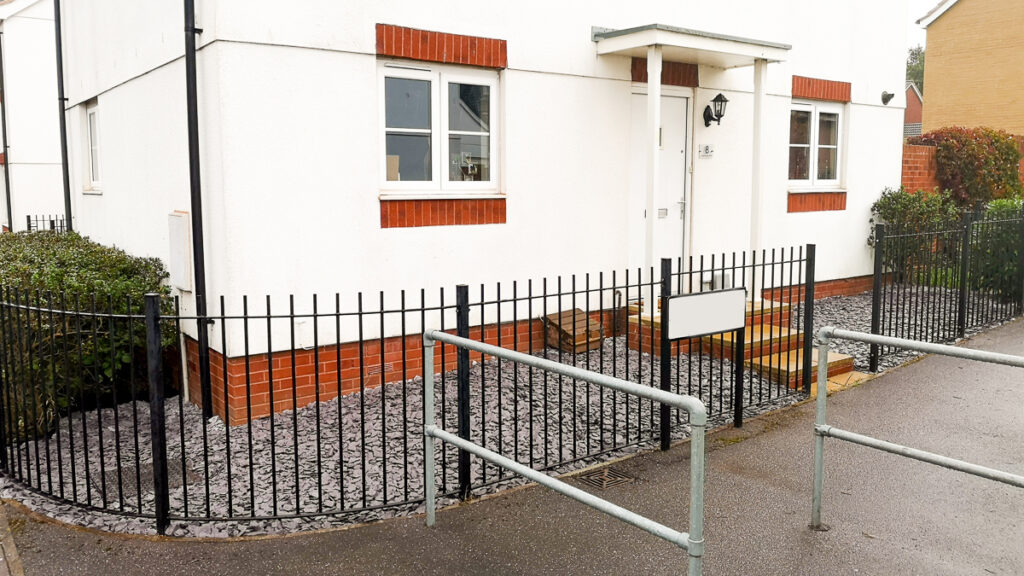
As I said above, We had estimated between 68 & 72 bags of Meadow View 40mm Blue Slate Chippings so Monday evening collected another 15 bags and the last 3 on Tuesday evening to make 72 bags in total… Not a bad guess, huh? We needed the last 3 to fill in the areas around the gas box, inspection chamber and a few of the wall vents; just to make the whole area flow to a nice gradient.
As if we’d planned it, the next day it rained and washed any remaining slate dust off leaving the finish we were after.
Cost:
(£5.99 per bag or 3 bags for £15).
TOTAL – £405.66
Things to remember:
Don’t lay your Stone too thin – The membrane is only a weed SUPPRESSANT. Moisture will still get through, the soil underneath is enough food, all the weeds need after that is daylight. If you can see the membrane from the top then you probably don’t have enough stone.
Don’t over do it – It’s been a little over 18 months since I was a Landscaper and I still ache days later! Remember, these were 20kg bags so take it easy. Even though covering your garden in chippings is a relatively easy landscaping option, if you think the work is a bit too much for you, please consult a contractor, landscaper, gardener, etc.